This room was done on a budget! I tried to use what we already owned. When I did purchase things I tried to first buy it second-hand or make it myself. I was lucky and had some pretty amazing gifts for this nursery too!
I wanted to create a room that would represent my children. I love vintage, simple, clean decor. I had a look I was going for but I didn't want to spend a lot of money. So I did my fair share of thrifting. I needed to buy a big dresser since this room doesn't come with a closet and I needed a crib for my daughter. Both big ticket items.
In total we spent: $296.25
So here's our cost breakdown
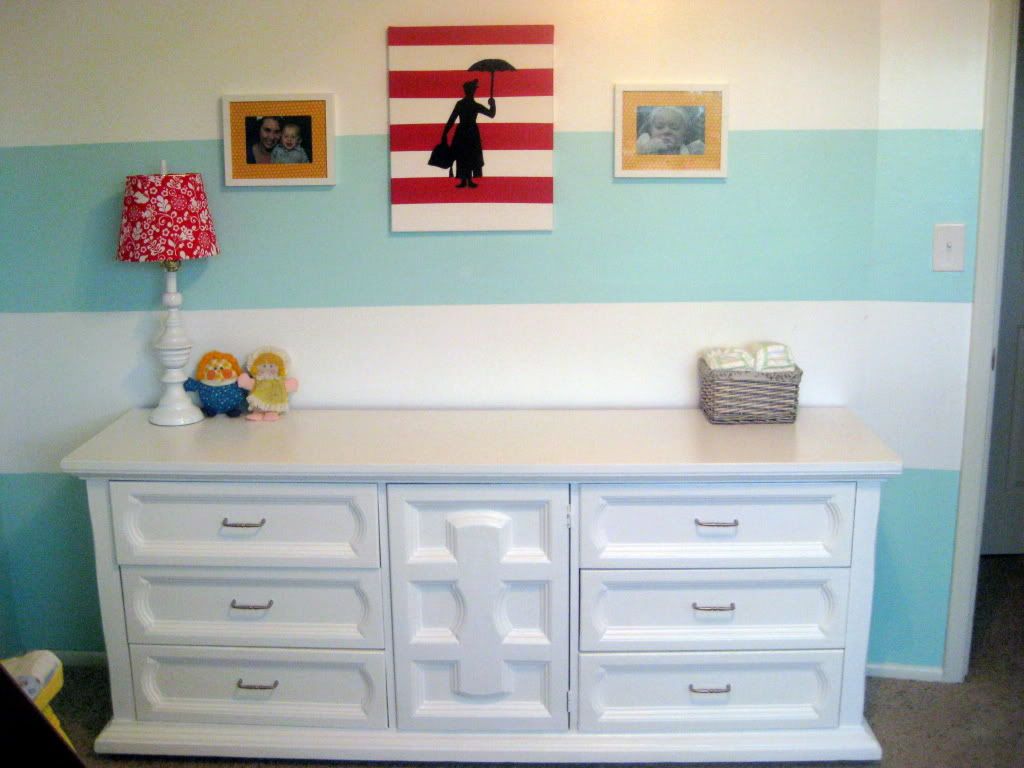
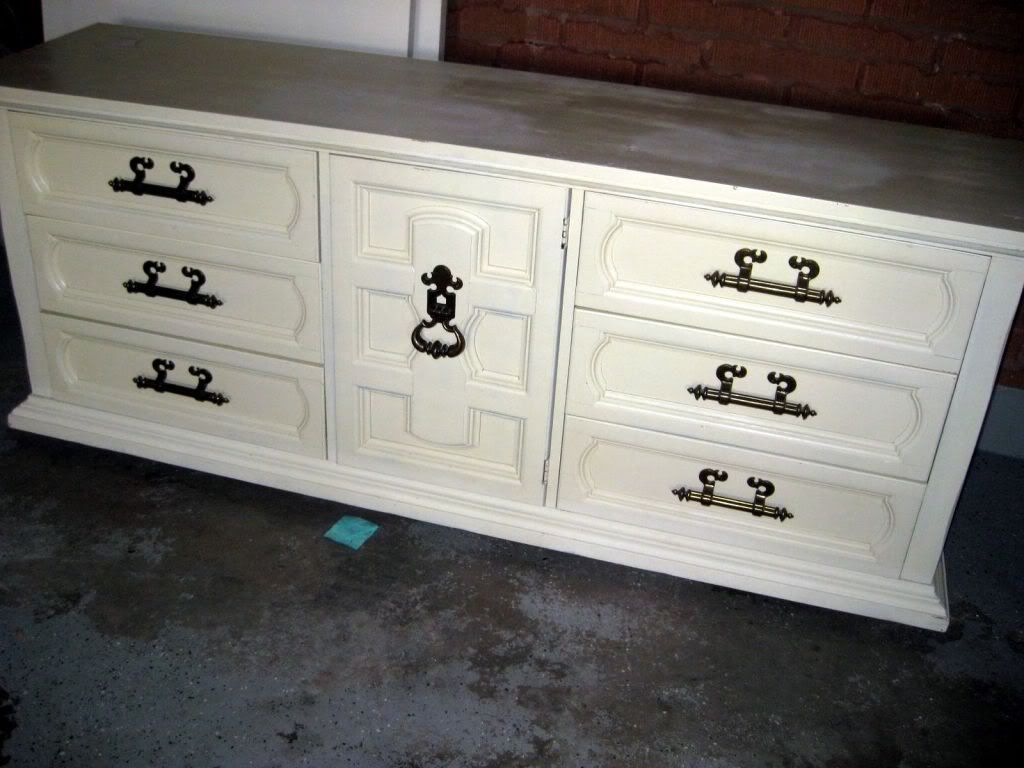
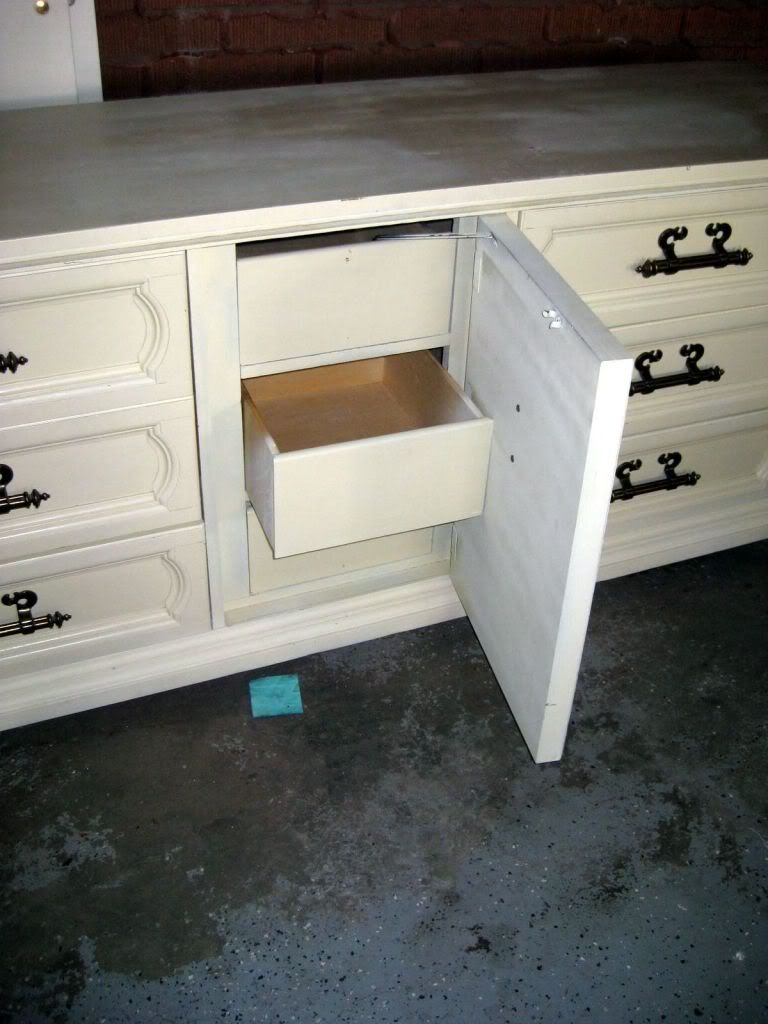
dresser: $55
dresser hardware: $18
lamp: $3
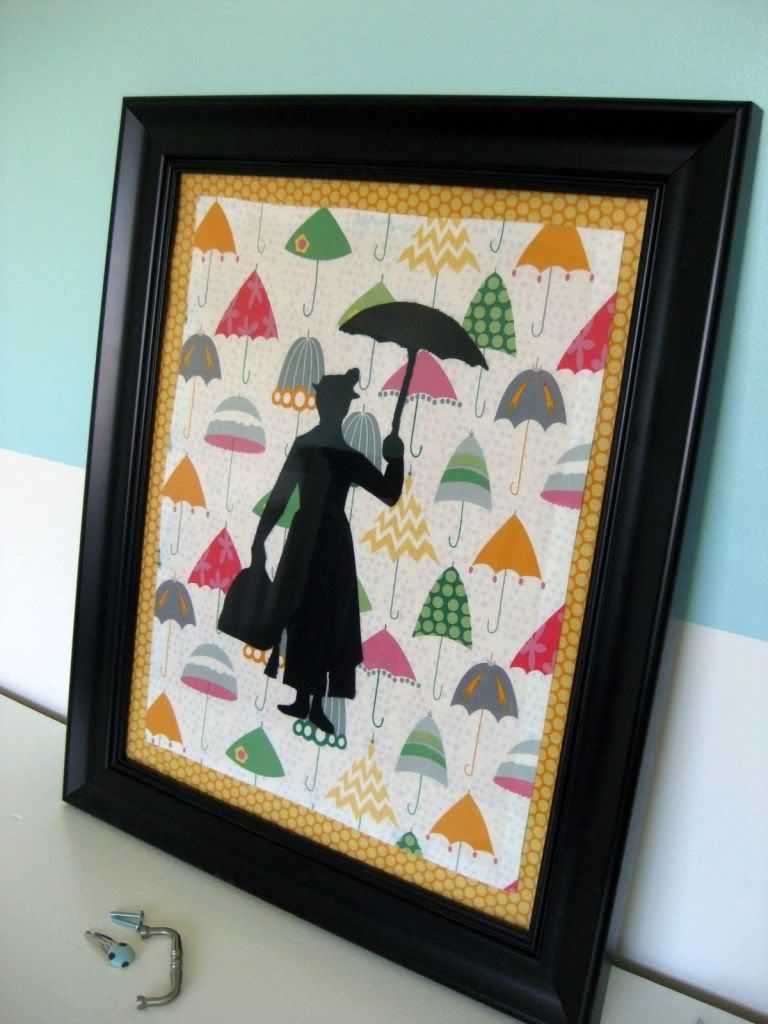
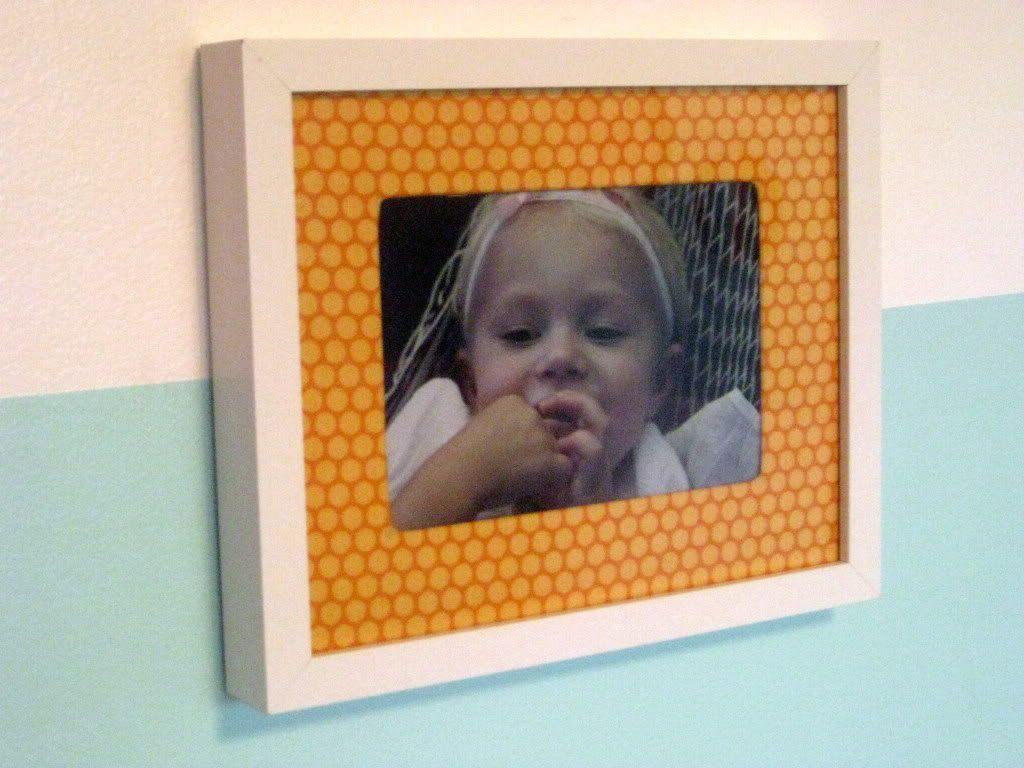
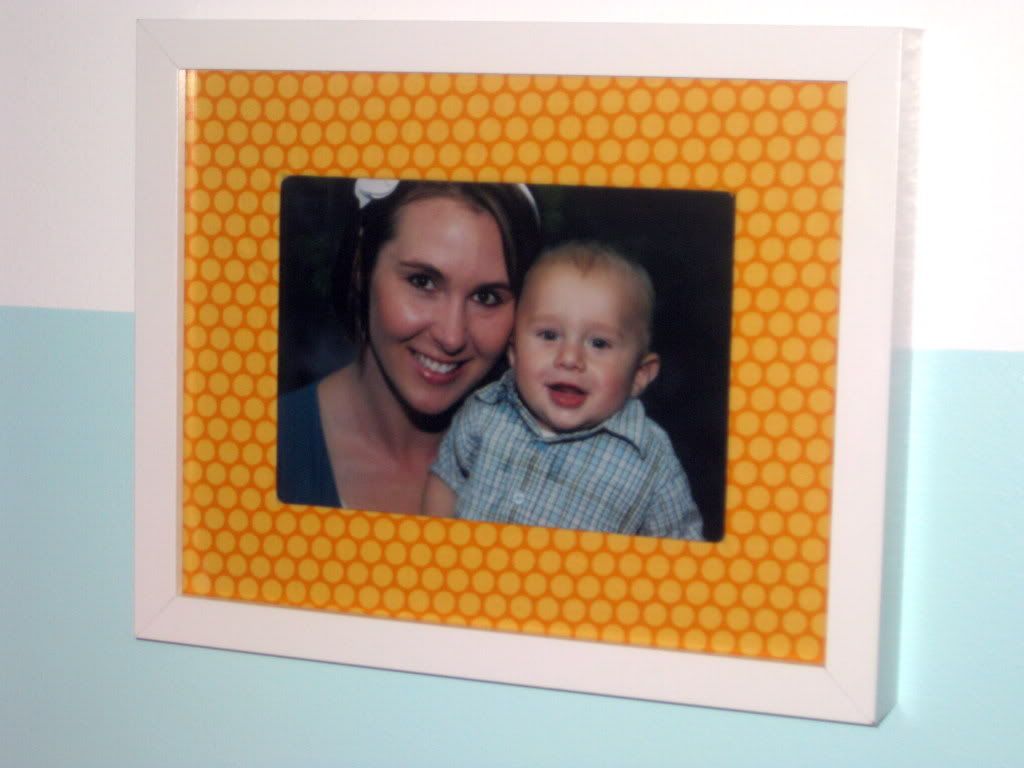
IKEA white frames: $10
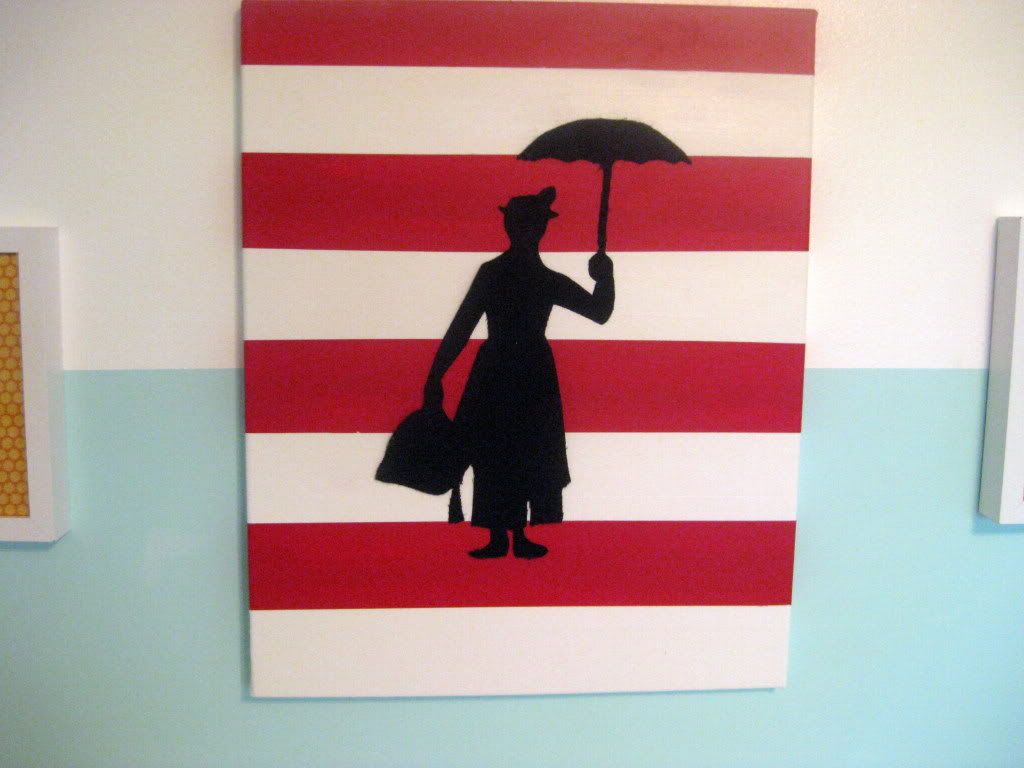
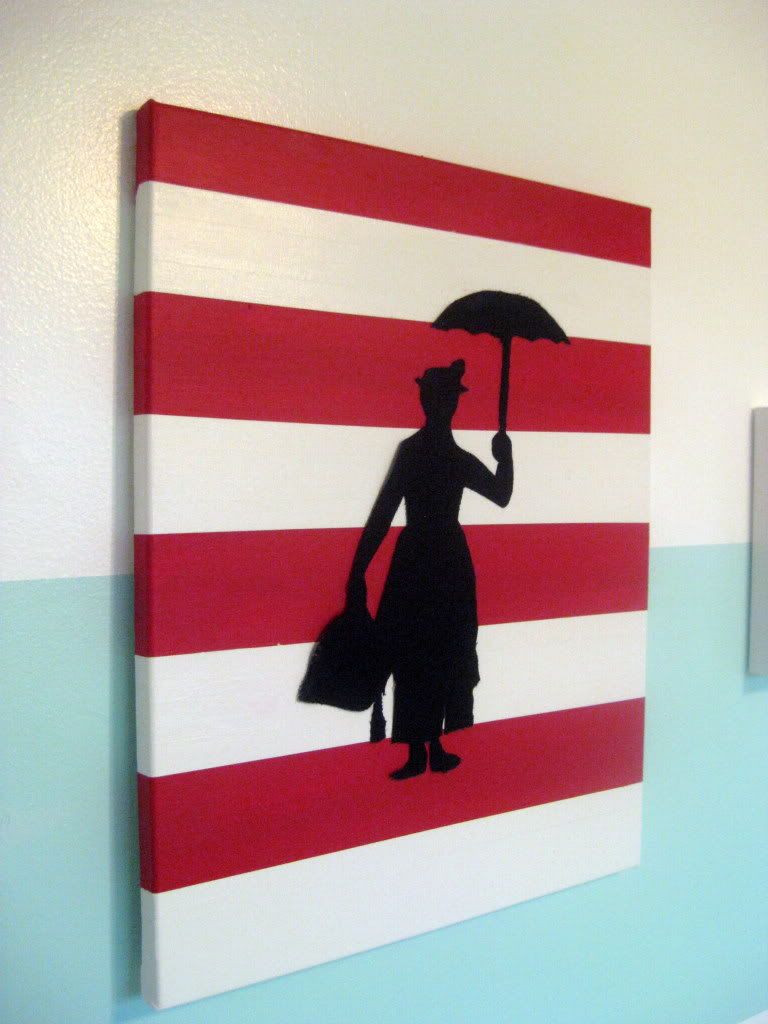
Mary Poppins art: $7 (handmade by me)
basket for diapers: already owned
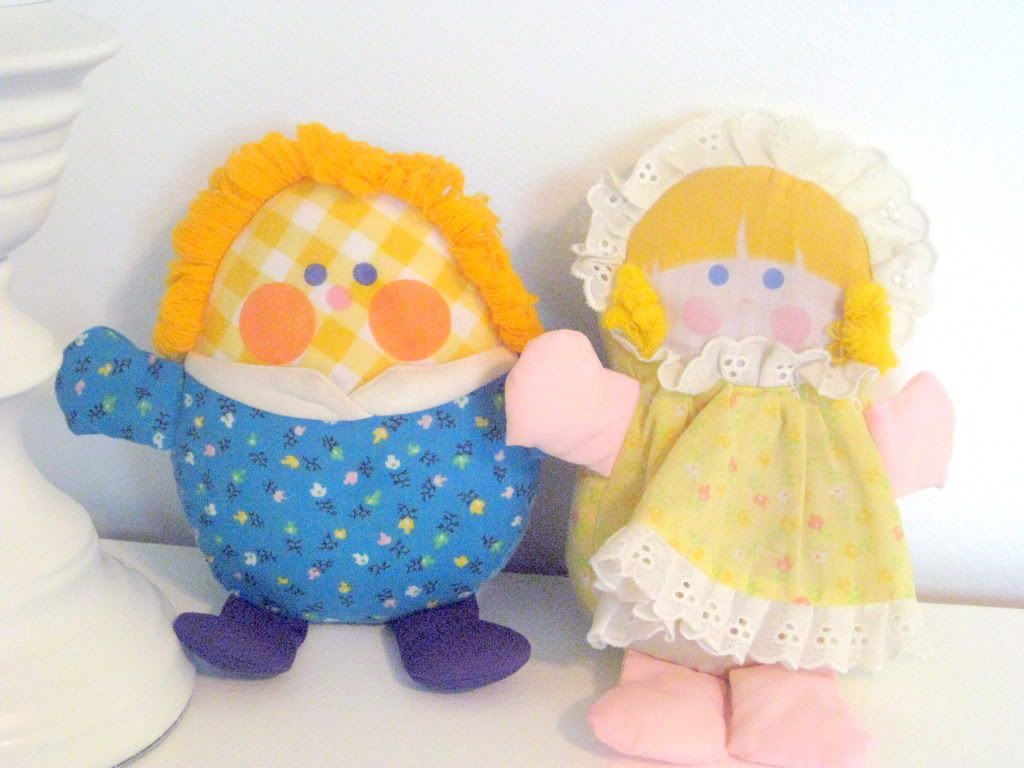
vintage toys: mine when I was a wee one
Total: $93
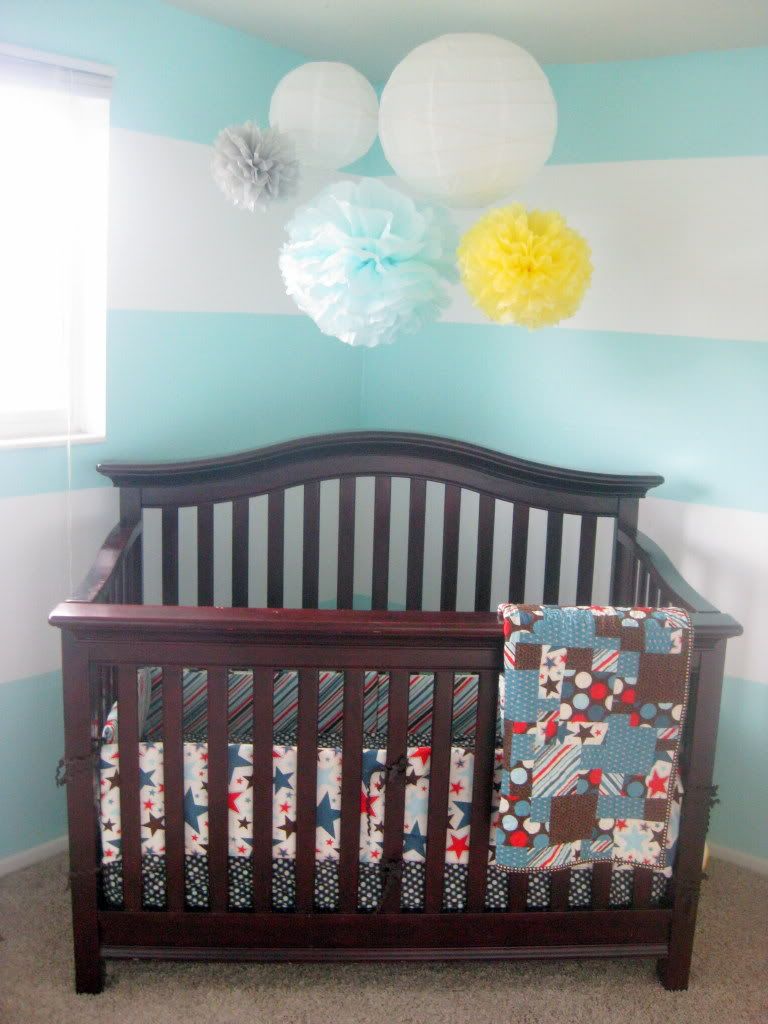
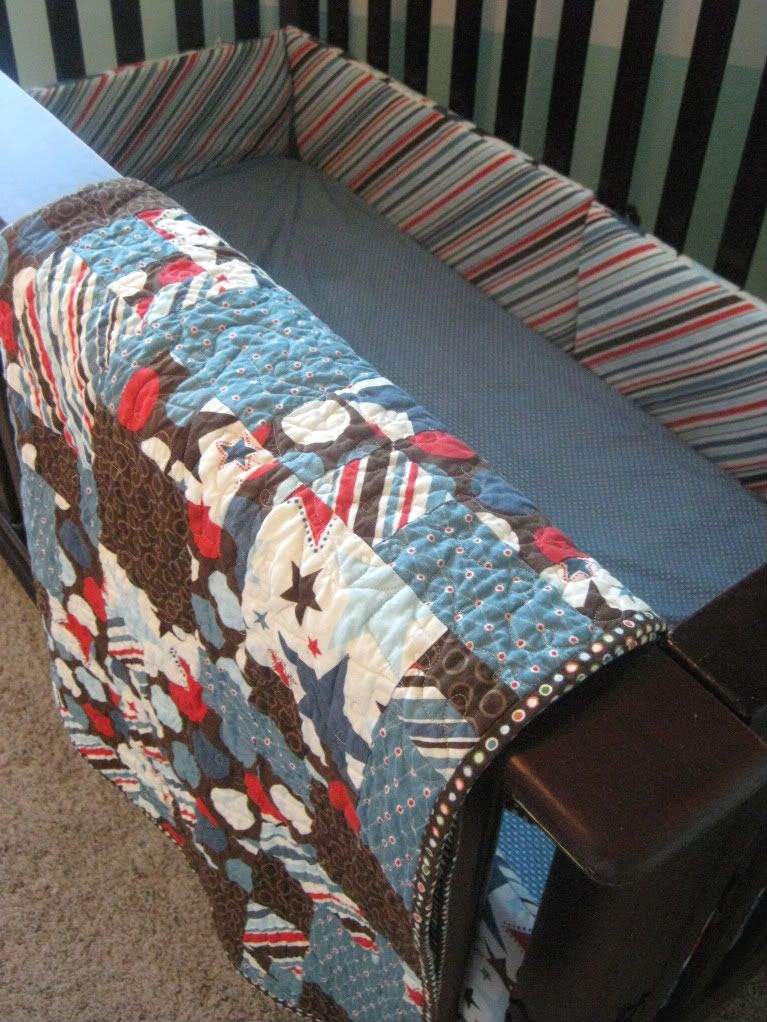
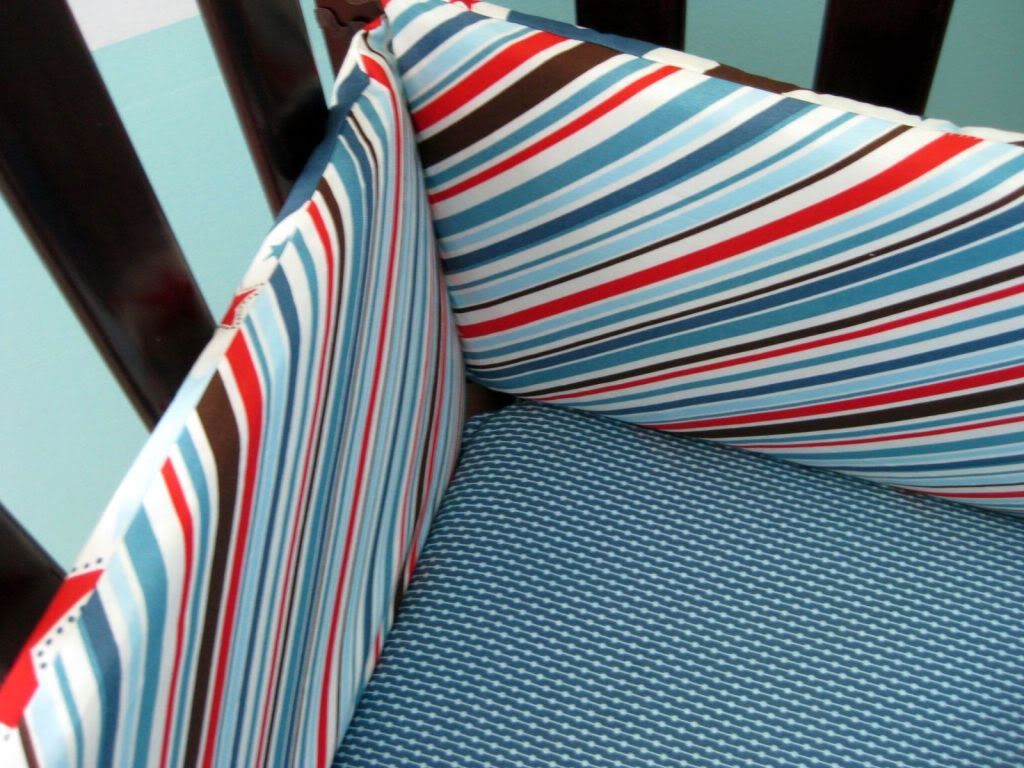
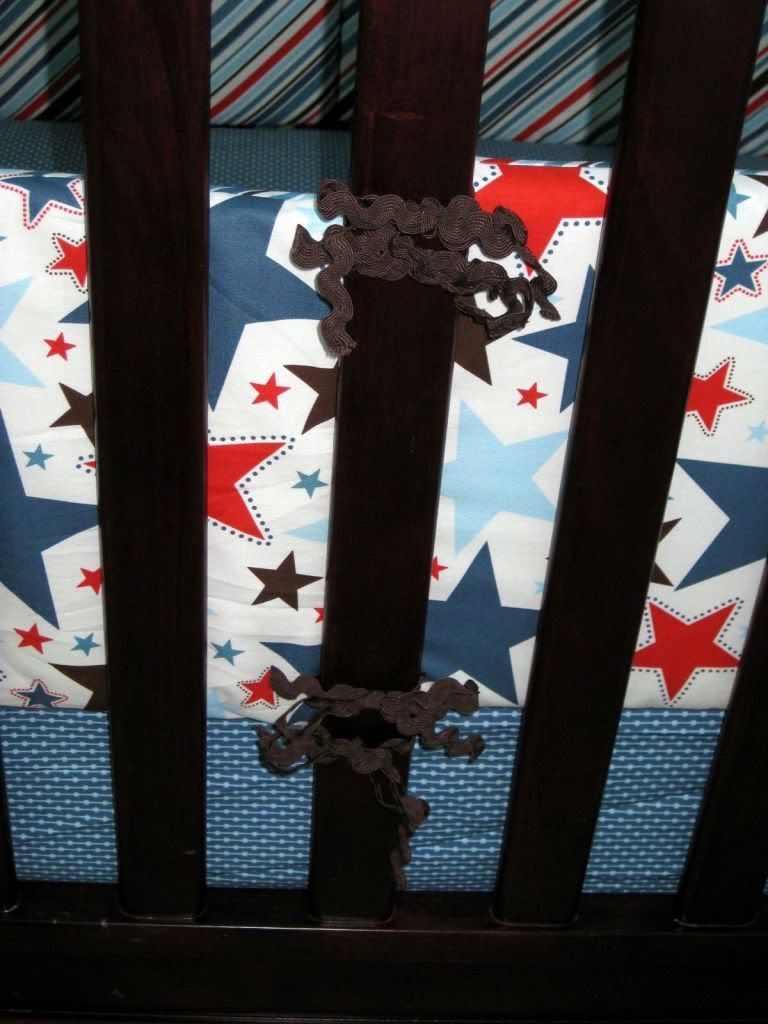
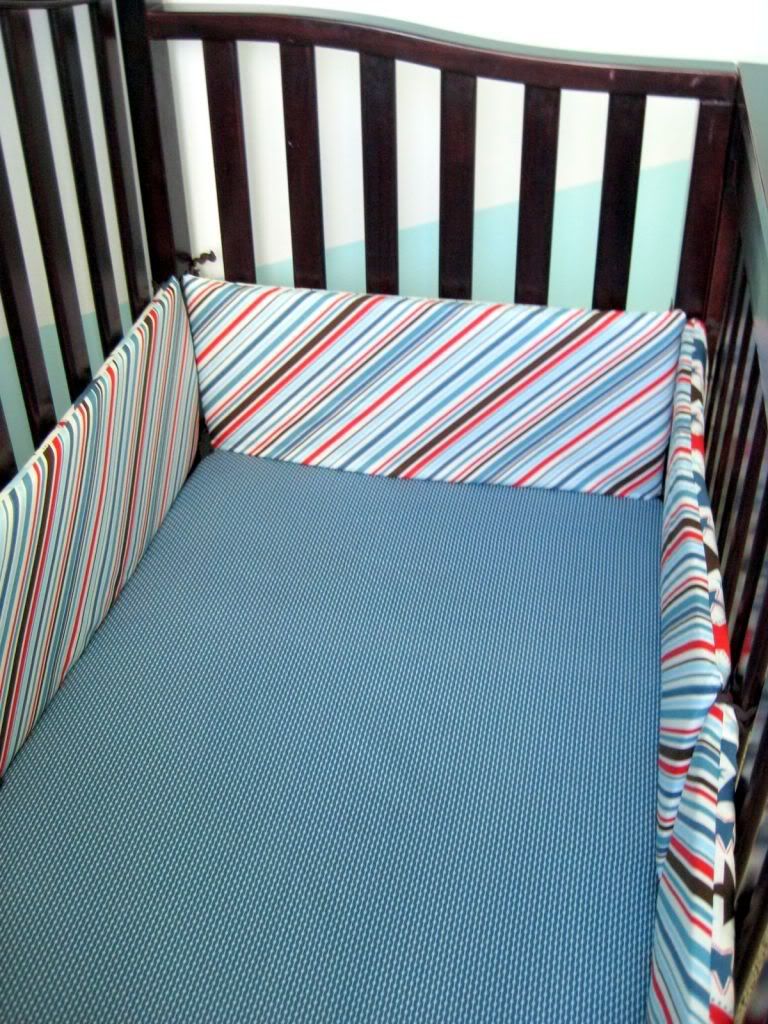
Crib: already owned
bedding: homemade gift from fantastic sister-in-laws, umm ya, they are the best!
Total: $0
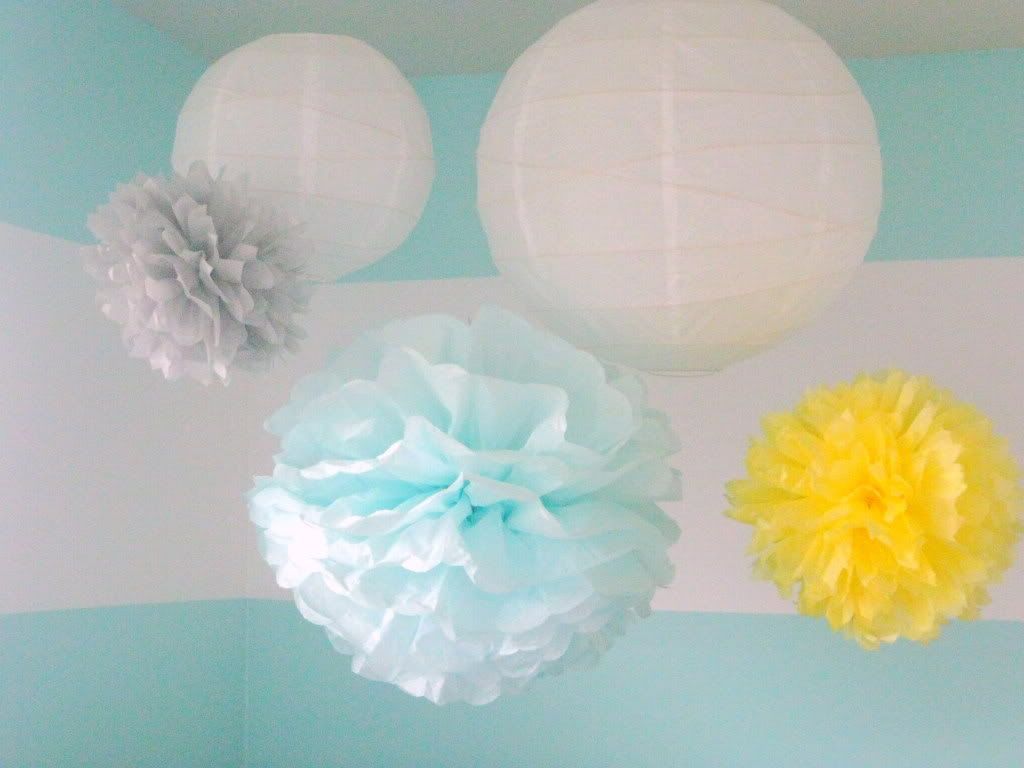
Pom poms: $3 (handmade by me)
IKEA white lanterns: $8
Total: $11
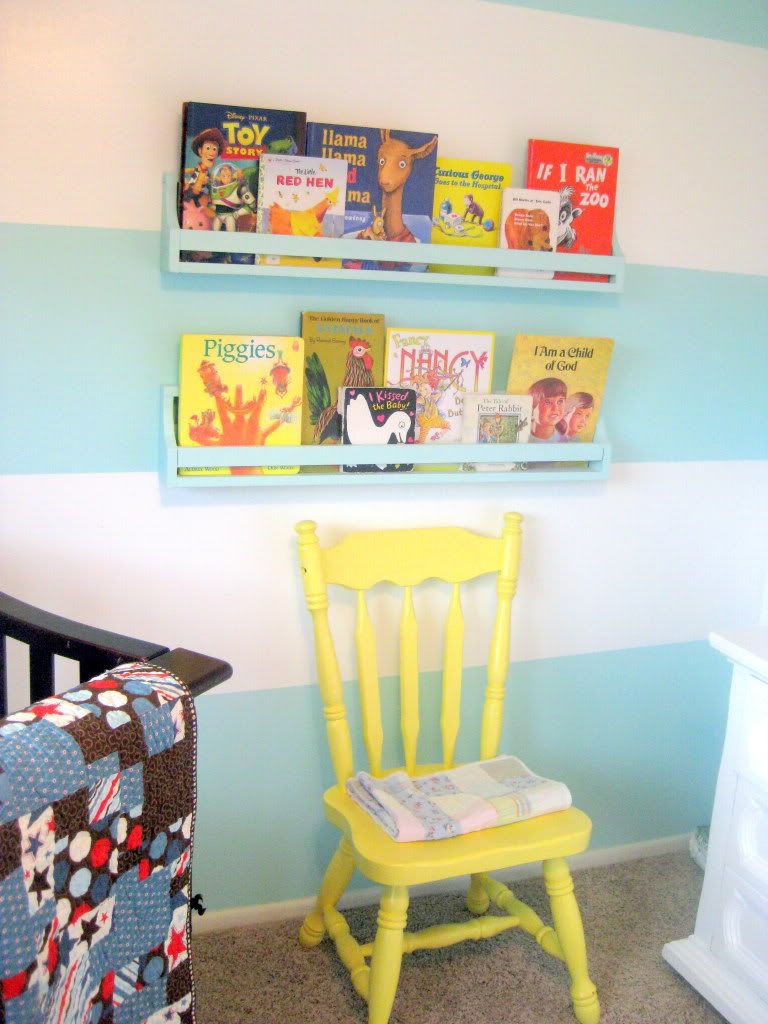
Chair: $8
Paint for chair: $3 sample from Lowe's
Bookshelves: $6 (handmade by me)
Paint: $3
Books: already owned
Total: $20
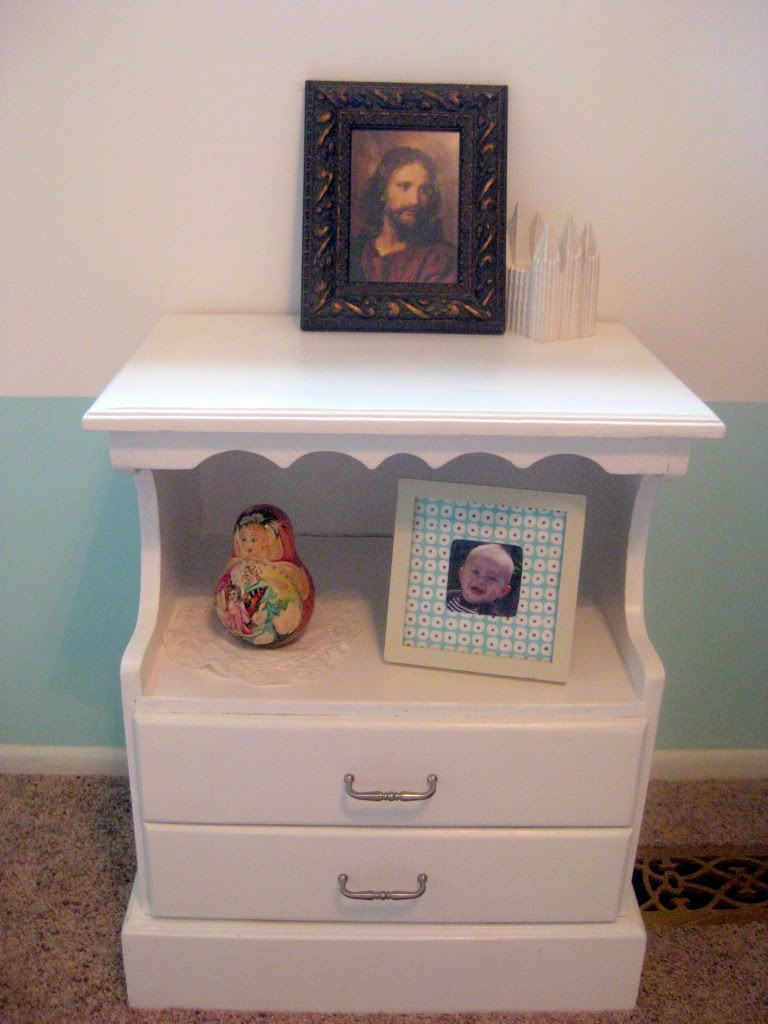
Nightstand: My dad made it back in highschool
Hardware: $6
Ukrainian martroyshka: already owned
Frame: already owned (added fabric)
Temple: .25
Framed picture of the Savior: already owned
Total: $6.25
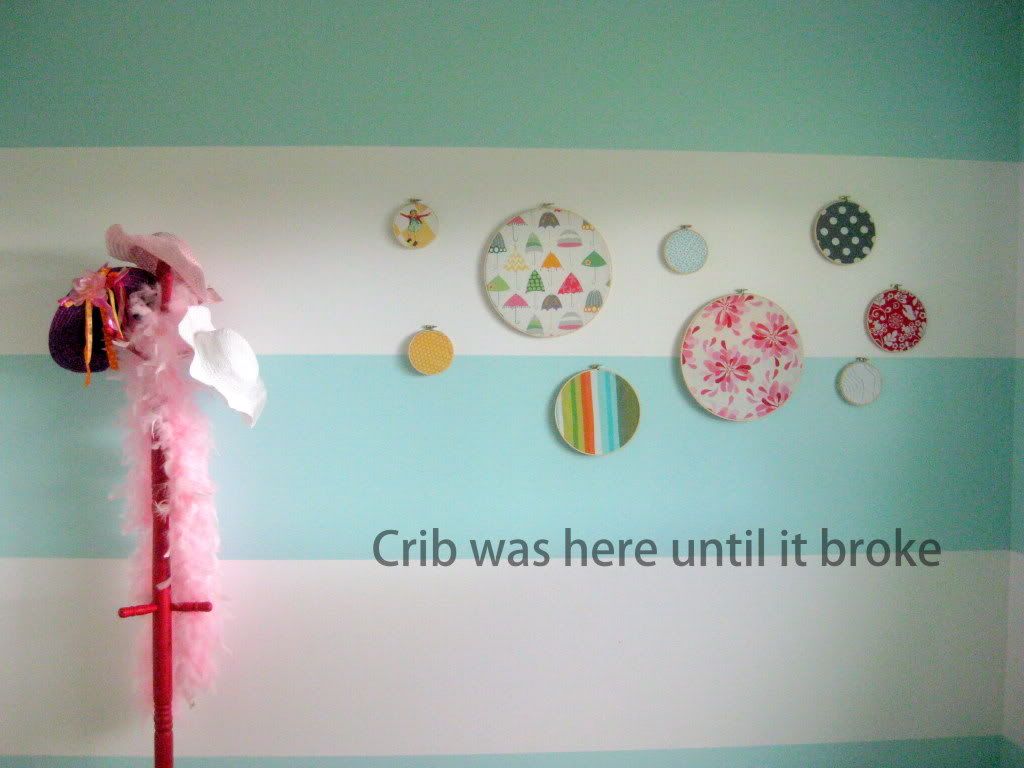
Embroidery Hoops: $8 at Hobby Lobby
Fabric: $20 but have LOTS left over
Vintage Hat stand: $5
Red Paint: $3 sample at lowes
Hats and Boa: already owned
Total: $36
And not pictured: crib and mattress...which broke on us afterall. But it's still in the cost of the room: $40
Paint for crib: $20
Total: $60
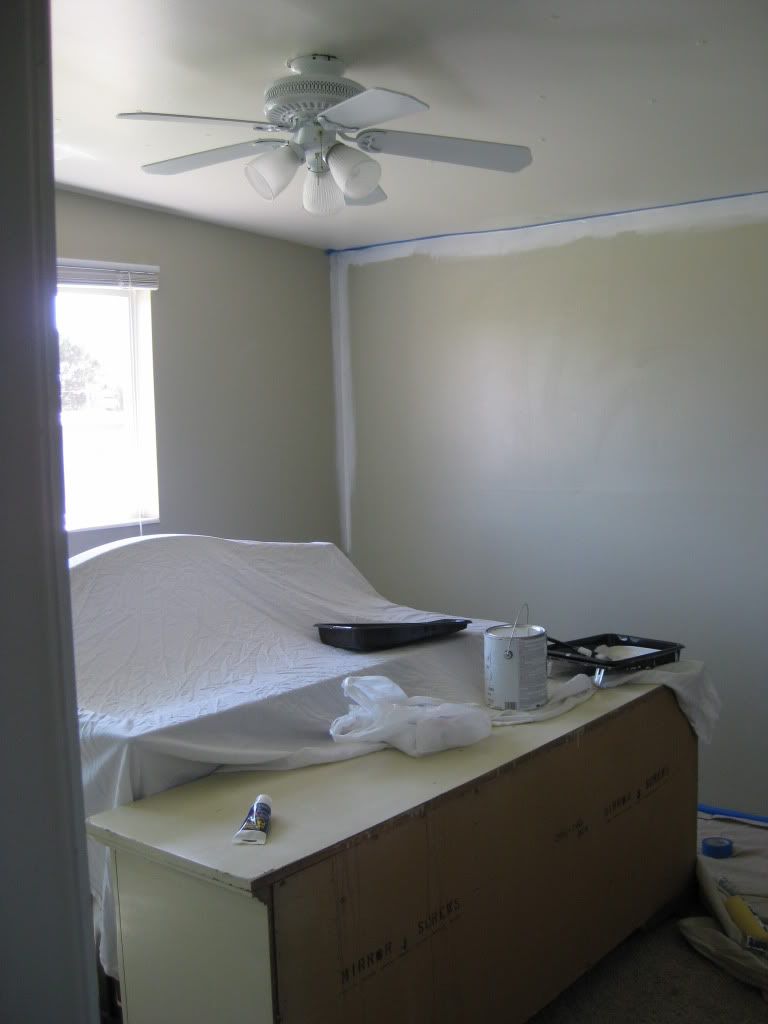
Paint for the stripes on the walls: $50
Painting supplies: $10
Total: $60


